Video output settings
This section decides how the final file is built — its codec, container format, quality and encoding speed — plus a read-only recap of your soundtrack and the master output volume. None of it changes the karaoke synchronization, the effect, the fonts or the subtitle position: those are set elsewhere. Here you're choosing the packaging and quality of the exported video.
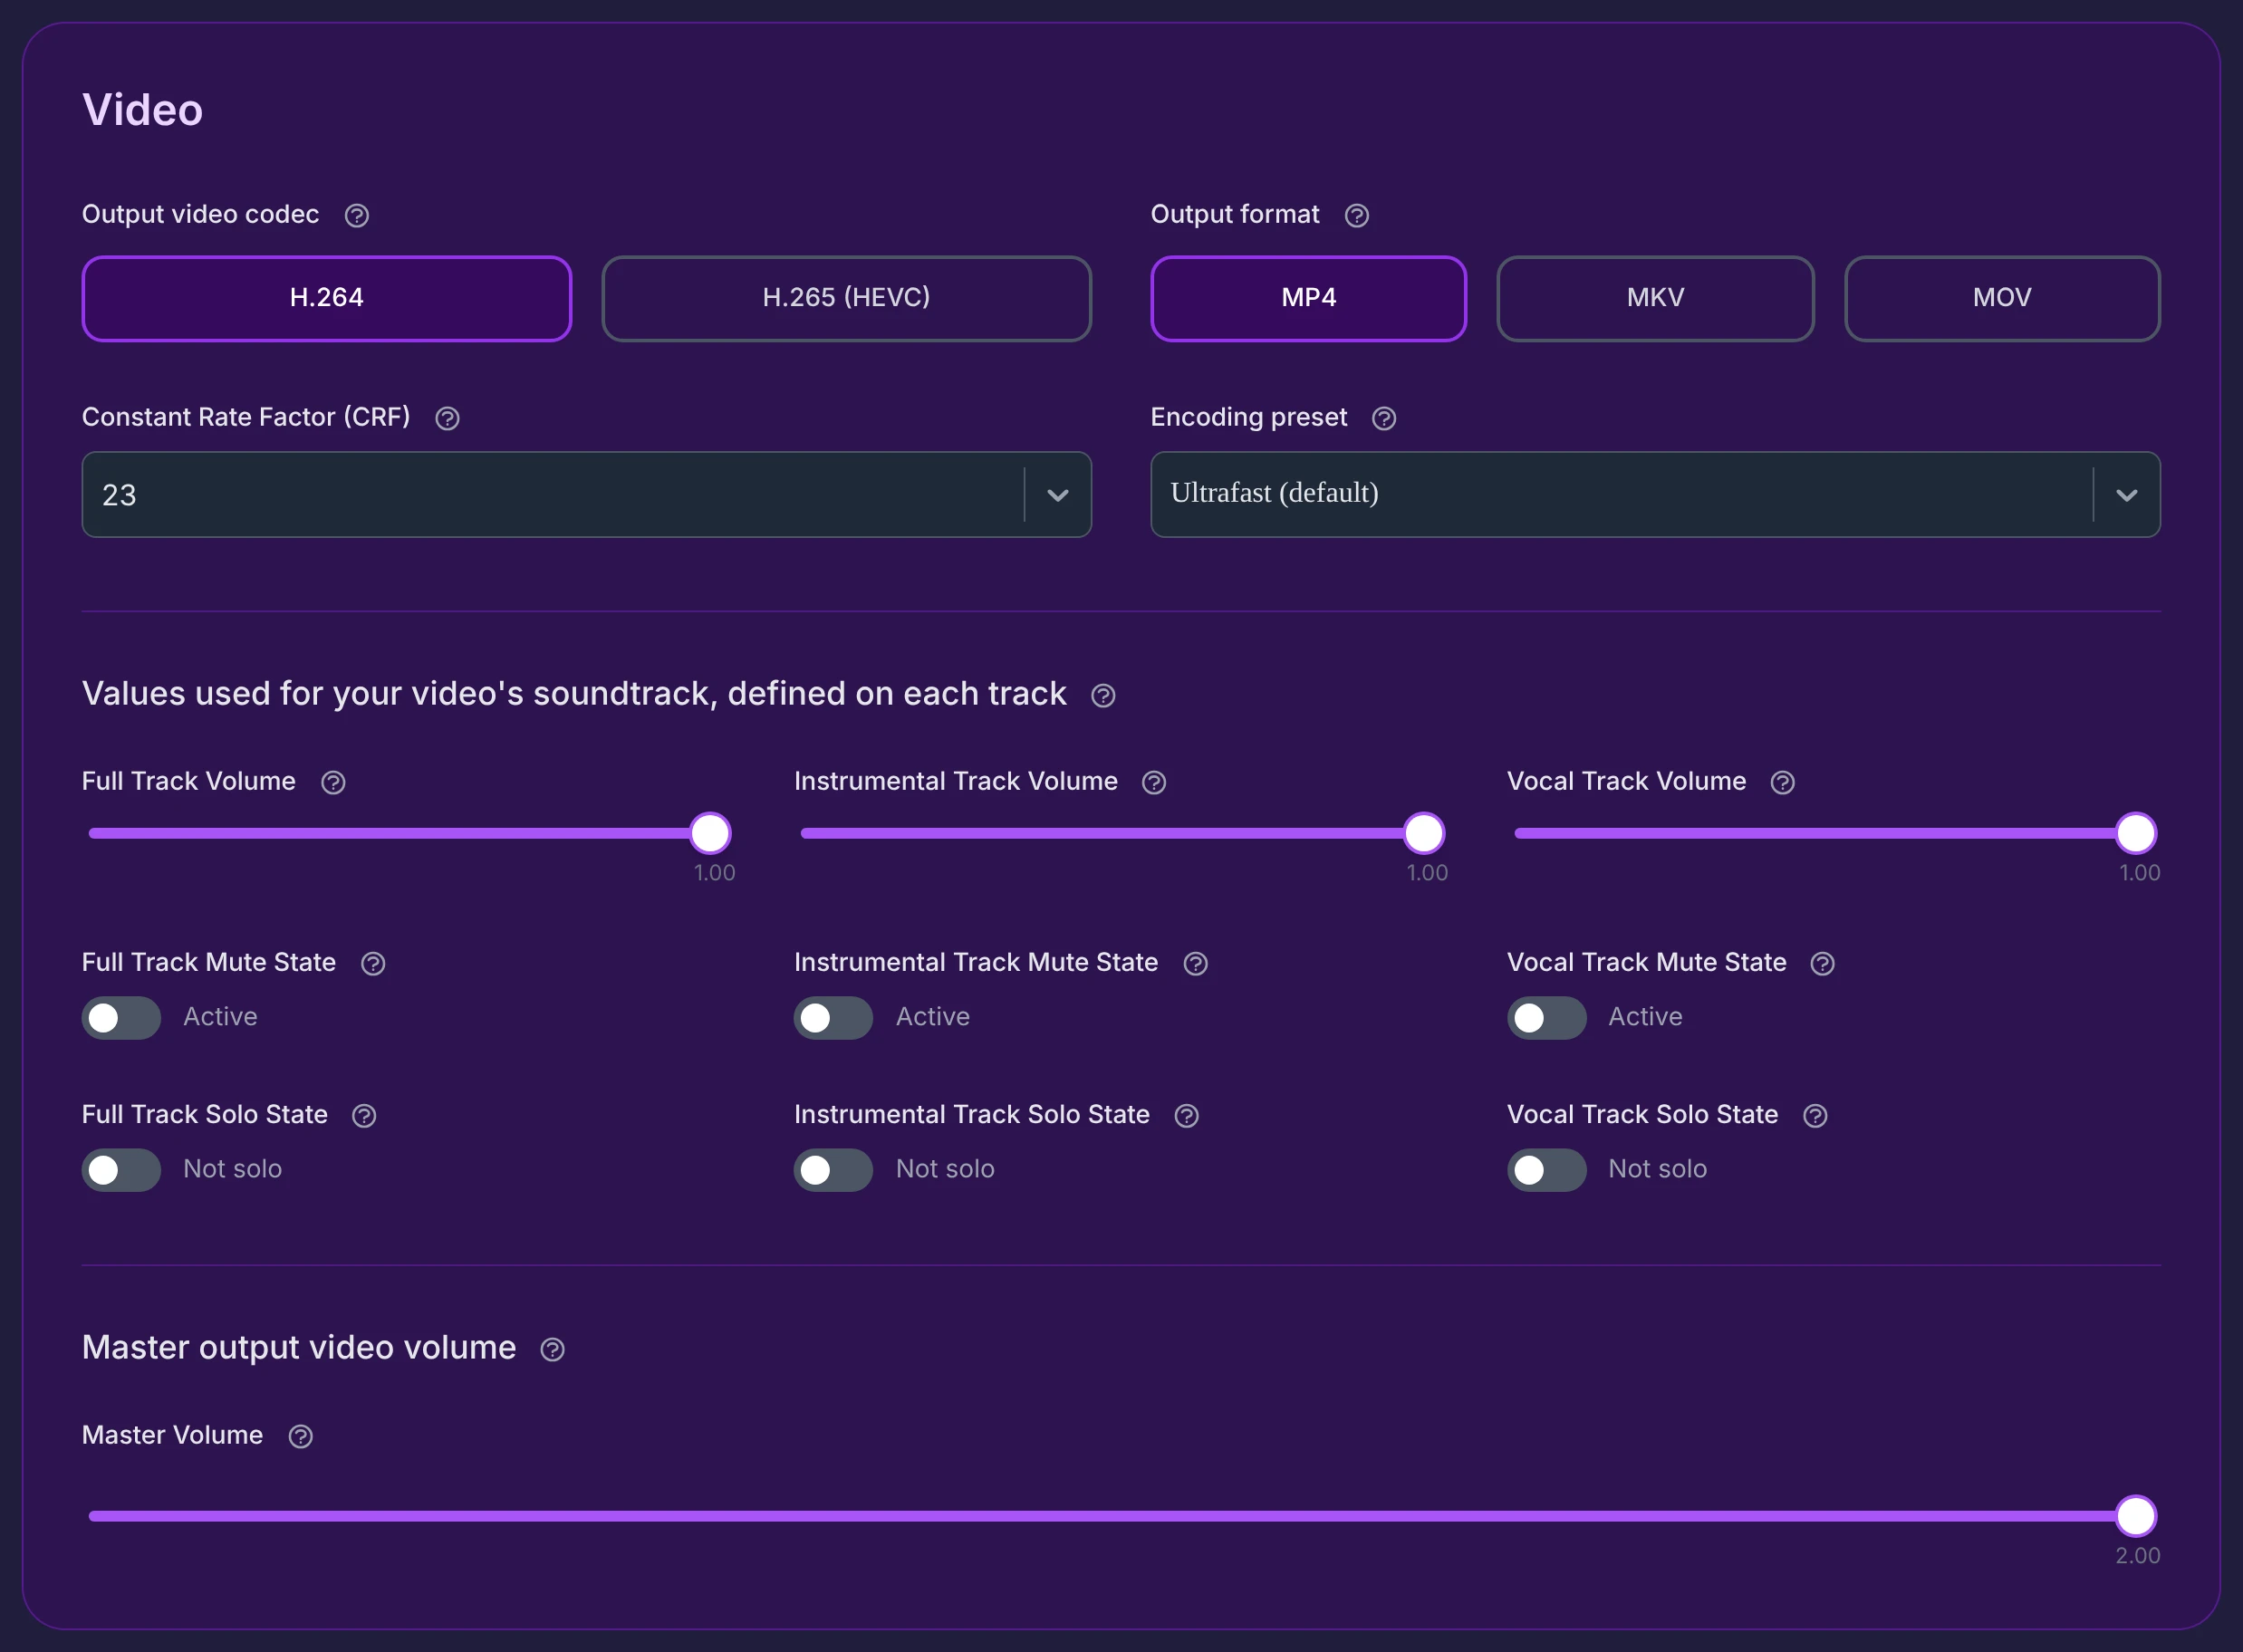
Output video codec
The codec is the method used to compress the picture. Two choices, and you can regenerate in the other one at any time:

- H.264 (default) — the classic codec, in use for over 20 years. It plays on virtually any device, even old ones, and encodes fast. Its files are larger than H.265 for the same quality. This is the safe, universal choice.
- H.265 (HEVC) — a more modern codec that compresses more efficiently: for the same quality, the file is noticeably smaller. Best for storing many videos, sharing on social networks, or 4K screens. It needs a reasonably recent device (roughly 2017–2018 onward) and takes a little longer to encode on our servers.
| H.264 (default) | H.265 (HEVC) | |
|---|---|---|
| File size | Larger | Smaller (same quality) |
| Compatibility | Excellent, even on old devices | Recent devices (≈2018+) |
| Encoding time | Faster | A little longer (server-side) |
| Playback on old devices | Very smooth | May stutter / need a player |
| Best for | Sharing with everyone | Light files, social, 4K, archiving |
Stay on H.264 if you want it to play everywhere without a second thought. Pick H.265 if you mostly use recent devices and want lighter files. The karaoke effect is identical either way — only the file size and device compatibility change.
Output format
The format is the container — the "packaging" around the video. It has no effect on image quality, synchronization or the karaoke effect; it only decides how easily the file plays on your devices.

- MP4 (default) — the universal format. Plays almost everywhere (iPhone, Android, smart TVs, computers, YouTube, WhatsApp, Instagram…). The safest, simplest choice.
- MKV — a very flexible container, great for archiving in lasting quality. Slightly less compatible: some older TVs or phones may need a player such as VLC.
- MOV — the native Apple format, seamless on iPhone, iPad, Mac and Apple apps. Less universal on Android/Windows.
MP4 for almost everyone. MKV if you want the most flexible archive. MOV if you live in the Apple ecosystem. As with the codec, you can regenerate in another format to compare.
Constant Rate Factor (CRF)
The CRF sets the quality of the picture — the single most important quality control. The rule is simple: the lower the number, the higher the quality and the larger the file; the higher the number, the lighter the file and the more quality drops. Values run from 15 to 30, default 23.

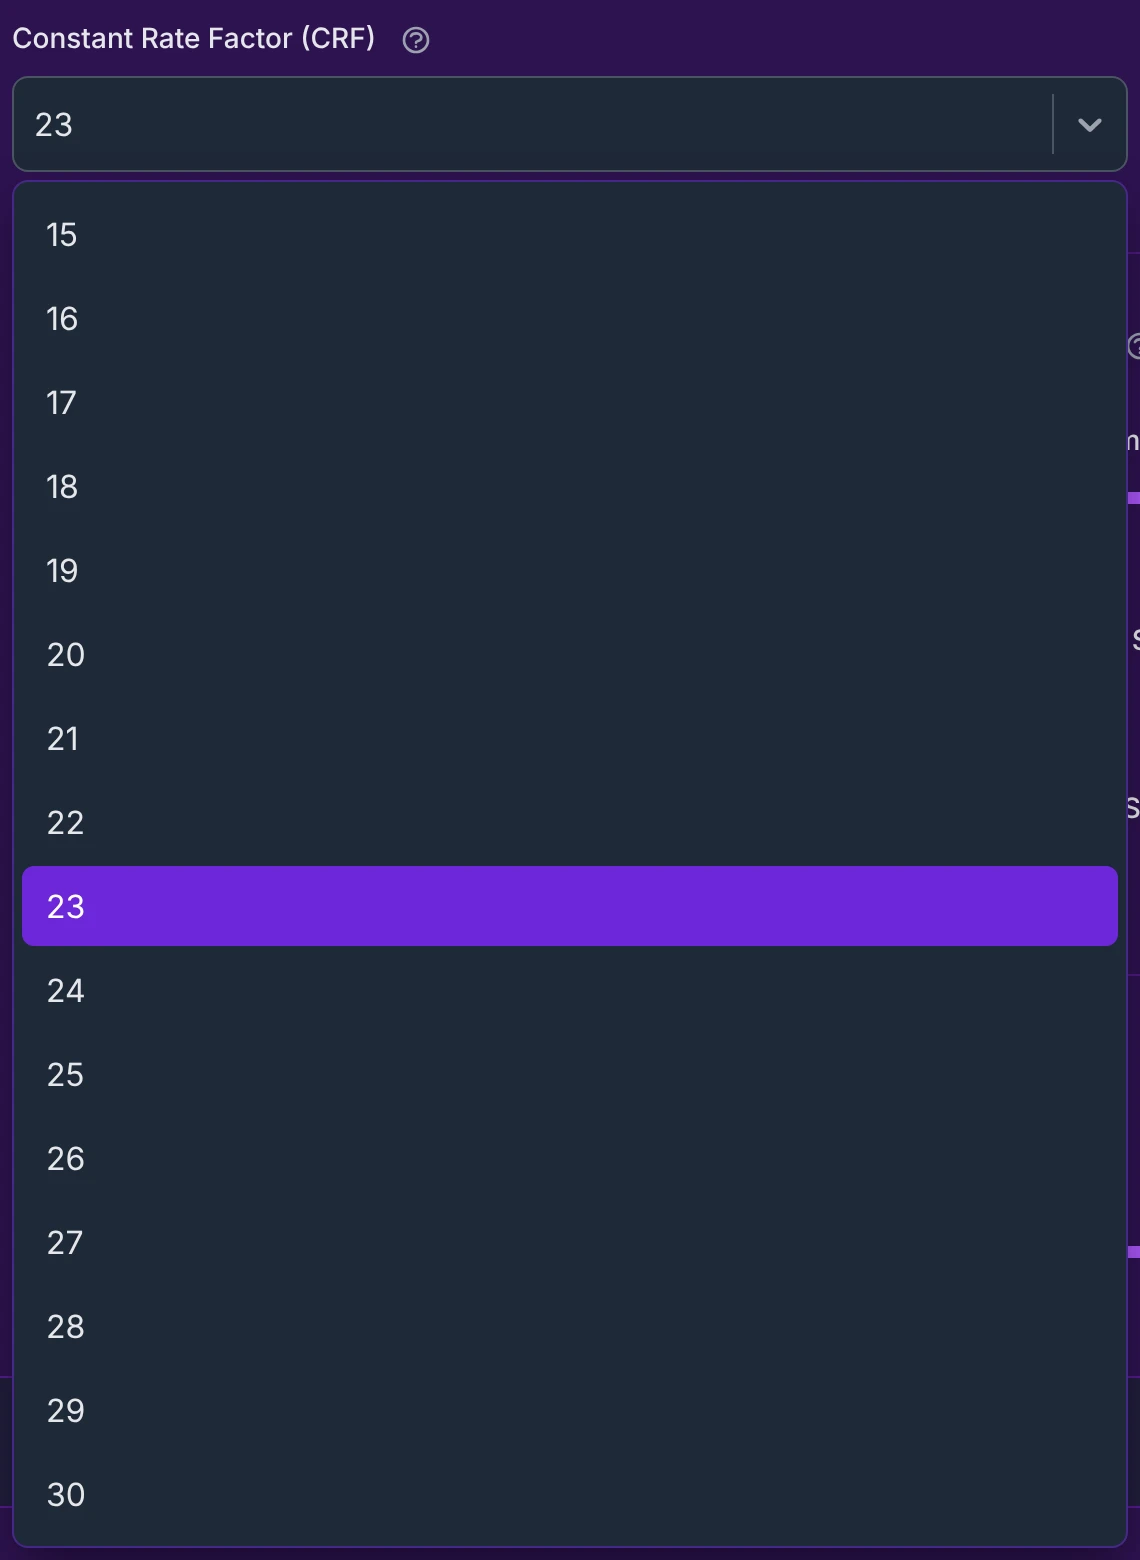
- 15–18 — very high quality. Extremely sharp, but the file gets large. Below 18 the gains become hard to see while the size keeps climbing — reserved for purists or archiving.
- 19–22 — very good quality. Excellent; the difference from the lowest values is hard to spot on most screens.
- 23 — recommended default. The best all-round balance of quality and size for the vast majority of videos.
- 24–26 — good quality-to-size ratio. A slight softening of fine detail, a noticeably smaller file.
- 27–30 — lighter files. Fine for quick sharing or watching on a phone; from 28 up, lyric text may look a touch less crisp.
Start at 23. Go down to 18–21 for maximum quality on a big screen; go up to 25–27 for a lighter file. Generate a short preview and judge on your own devices.
Encoding preset
Here's the setting people most often misunderstand, so let's be precise: the preset does not change how good your video looks — that's the CRF's job. The preset only trades encoding speed against file size, at the same quality.

- A faster preset (like Ultrafast) encodes almost instantly but produces a larger file.
- A slower preset (like Medium) takes longer but squeezes the same quality into a smaller file.
Six presets are available, from fastest to slowest:
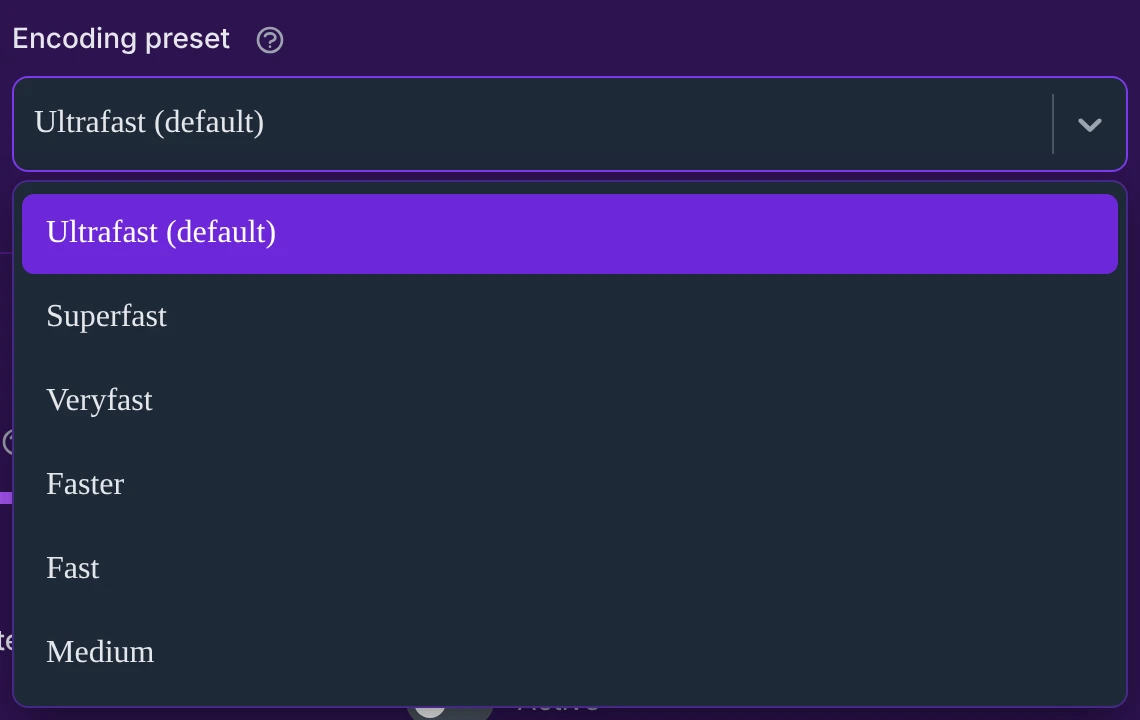
Ultrafast (default) · Superfast · Veryfast · Faster · Fast · Medium
The default is Ultrafast on purpose: your previews (which you can regenerate as many times as you like) come out almost instantly, so you can try fonts, colors, sizes and positions without waiting.
Keep Ultrafast while you fine-tune everything — previews stay fast, and they look exactly as good as a slower preset would (same CRF). For the final full video, if you care about a smaller file, switch to a slower preset such as Medium: same picture quality, lighter file, just a longer encode. You never have to wait on the page — you'll be notified when it's ready.
Your soundtrack values (read-only)
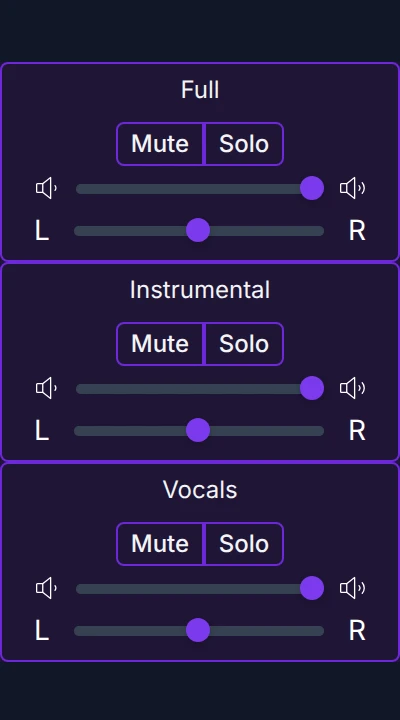
Below the encoding settings, a block recaps the audio mix that will go into your video — the volume, mute and solo state of each track (Full, Instrumental, Vocals). It's here purely for reference, so you can check the mix without scrolling back up to the tracks.
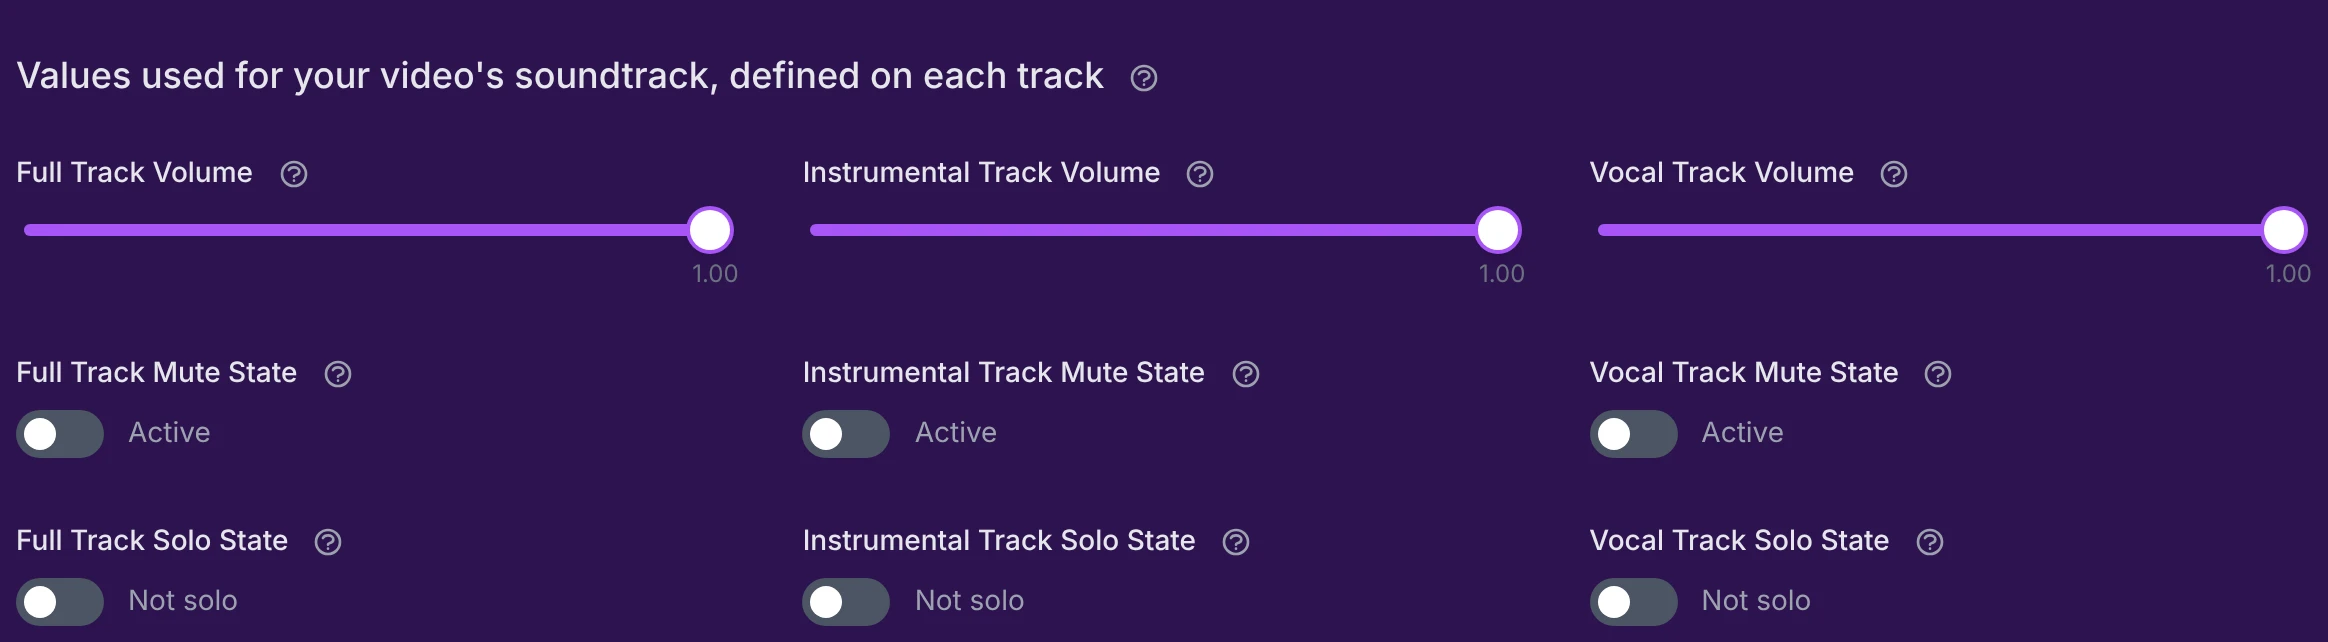
Every field in the editor has a small ❓ icon — hover it for a tooltip that explains what it does. The tooltip on this block's title says it all:
"To modify these settings, do it on the tracks directly. Shown here for reference only."

To actually change the mix — mute or solo a track, adjust a track's volume or left-right balance — use the per-track controls at the top of the editor, on the waveform page:
Master output video volume
This is the only adjustable control in this section, and its job is narrow but useful: it lets you dial the automatic safe amplification the app applies to your soundtrack. Before encoding, the app measures, track by track, the maximum gain it can add before the sound would distort — with a safety margin — so the audio can never clip, whatever you do here.
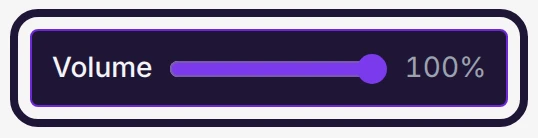
The slider reads from 0.00 to 2.00, and it works hand-in-hand with the master volume at the top of the editor (on the waveform page, shown in 0–100%):
- 2.00 (default) — 100% of the safe amplification: the sound is placed at its optimal, loudest-without-distortion level.

- Between 1.00 and 2.00 — you set this by hand. 1.50 gives you 50% of the extra amplification, and so on.

- 1.00 — the original volume, no amplification added.
- Below 1.00 — you can't drag there directly; this lower range is driven by the top master volume. Lower that one to, say, 76% and this slider follows to 0.76 and locks (read-only) until the top master returns to 100%.

In short: to make the video quieter than the original, lower the top master volume (0–100%); to push into the safe amplification (100–200%), use this slider.
Both are at their defaults out of the box — top master at 100% and this one at 2.00 — which gives the optimal, distortion-free level automatically. Unless you have a specific reason, there's no need to touch either one.