The waveform editor
This is the heart of the editor — and of KaraokeClip itself. The alignment has already placed every word on the audio; here you listen, check, and fine-tune the timing of each word until the karaoke follows the voice exactly the way you want.
Every word is an annotation: a small labeled block with a start time and an end time, sitting on the waveform. The whole area is made of six parts, from top to bottom:
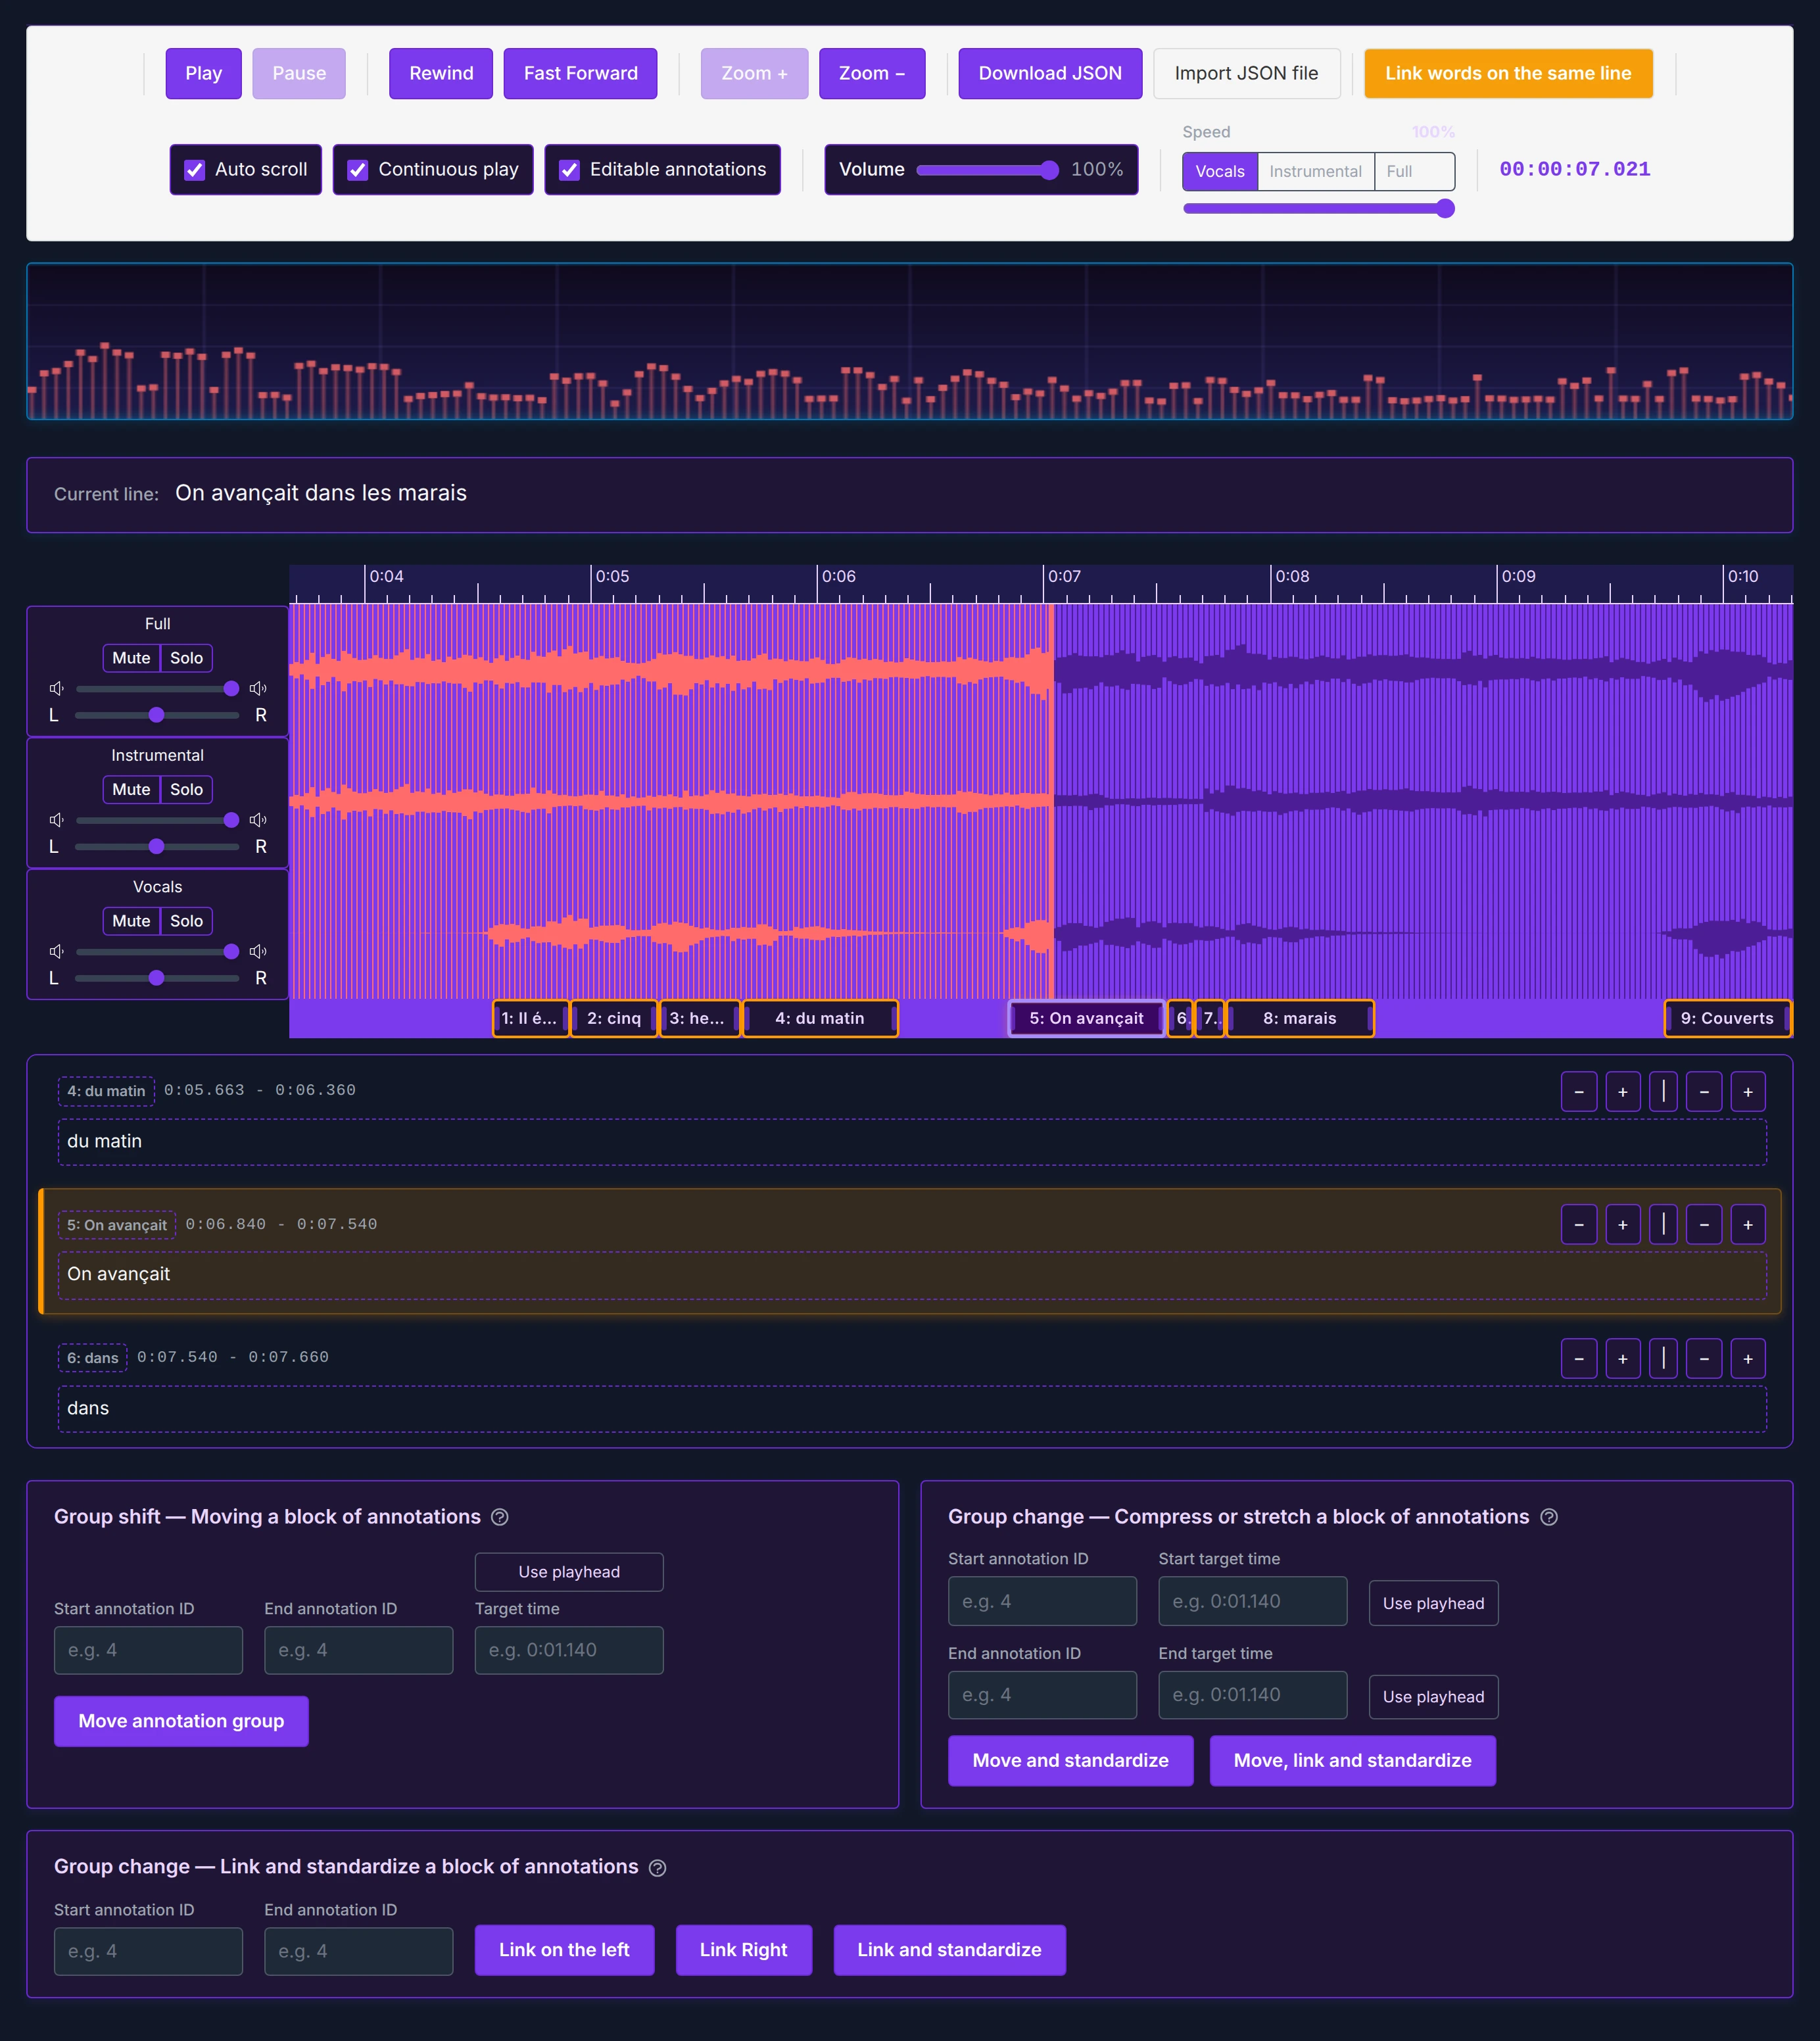
- The toolbar — playback, zoom, saving, and display options.
- The frequency visualizer — a purely decorative touch that dances with the music.
- The current-line display — shows the subtitle line being played.
- The three audio tracks — the waveforms, their mixing controls, and the annotations.
- The annotation editor — a list view of every annotation, for precise adjustments.
- The group-editing tools — covered on their own page: Editing groups of annotations.
The toolbar

Play and pause
Start and stop playback. The spacebar does the same thing — by far the handiest shortcut here, since timing work means pausing and resuming constantly.
Rewind and fast forward
Jump the playhead to the very beginning or the very end of the audio.
Zoom in and out
By default the view is at maximum zoom — ideal for seeing each annotation at a comfortable size. Zoom out when you need to work across a wide stretch of time, for example when using the group-editing tools on annotations that are far apart: the view always follows the playhead, so at high zoom you can't see distant annotations at once.
Download and import your annotations (JSON)
Your annotation work is saved as a small file (JSON format). Two things to understand:
- Automatic saving happens when you generate a video. Every time you generate a preview or a full video, the current annotations are saved on our servers. When you come back to a session later (through the email link), the annotations you find are those of your last video generation.
- Download JSON saves your current annotations to your computer at any moment, without generating anything. Import JSON file loads them back. If you try to import a file that doesn't belong to this project, the import is refused with a clear message — you can't damage your work with the wrong file.
If you spend time perfecting your annotations and then leave the editor without generating at least one preview and without downloading your JSON file, that work has nowhere to live — and it will be lost. Before stepping away, take two seconds to either generate a preview (which saves everything on our servers) or download your JSON so you can re-import it later. Your future self will thank you.
"Link words on the same line"
One click, and on every subtitle line at once, the small gaps between the words of that line are absorbed: each gap is split equally between the two annotations around it, so the words of a line end up glued together. The gaps between lines are left untouched.
- Press it if you prefer a smooth, flowing karaoke where the highlight glides from word to word without pauses.
- Don't press it if you prefer the highlight to follow each word's actual pronunciation, respecting the micro-pauses — a more staccato feel.
A time-saving recipe: set the start of the first word and the end of the last word of a line precisely on the audio, then press this button — the whole line is now cleanly timed as a block. For word-perfect precision you can still refine each annotation afterwards, and the slowed-down playback below helps with the finest work.
The three display checkboxes

All three are checked by default — the recommended setting.
- Auto scroll — checked: the playhead stays fixed at the center and the waveform scrolls smoothly under it. Unchecked: the waveform stays still and the playhead travels across it, re-centering with a jump each time it reaches an annotation. Uncheck it if continuous motion on screen bothers you, or to watch a precise portion without it scrolling away.
- Continuous play — checked: playback runs to the end of the track. Unchecked: playback stops at a stop point you define. To set it: place the playhead exactly where playback should stop, uncheck the box (the stop point is memorized), then move the playhead back to where you want to start and press play. Repeat from any start point — the stop point stays until you re-check the box. Perfect for looping over one passage without ever overshooting it.
- Editable annotations — checked: annotations can be modified, both their timing (the side handles) and their text (in the annotation editor). Unchecked: everything becomes read-only — handy once your work is done, to listen without any risk of an accidental change.
Master volume
Sets the volume you hear in the editor and the volume recorded in your final video. Leave it at 100% — there's rarely a reason to lower it, and a lowered master volume would be baked into your video.
Slowed-down playback
For the most surgical timing work, you can slow the audio down. The slider has fixed positions: 25%, 50%, 75%, and 100% (normal speed).
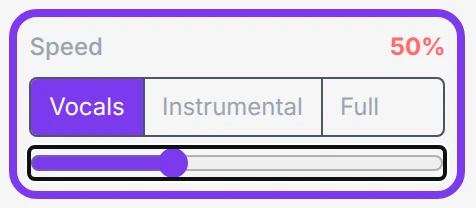
While slowed down, you listen to one track at a time — pick Vocals, Instrumental, or Full with the selector (Vocals is the natural choice for syncing words). Track mixing is paused during slow playback; as soon as the slider returns to 100%, the mix from the track panel (below) applies again.
Playback position
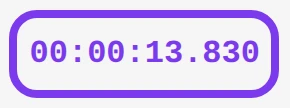
The counter shows the playhead's exact position, down to the millisecond — the same time format used everywhere in the editor.
The frequency visualizer

A row of bars that dances with the frequencies of the music. It has no function — it's just there to make the workspace more pleasant. Enjoy the show.
The current-line display
This bar shows the full subtitle line currently under the playhead — whether playing or paused — so you always know which line you're working inside:

When no annotation is under the playhead, it invites you to click a word to see its full line:

The three audio tracks and their mix
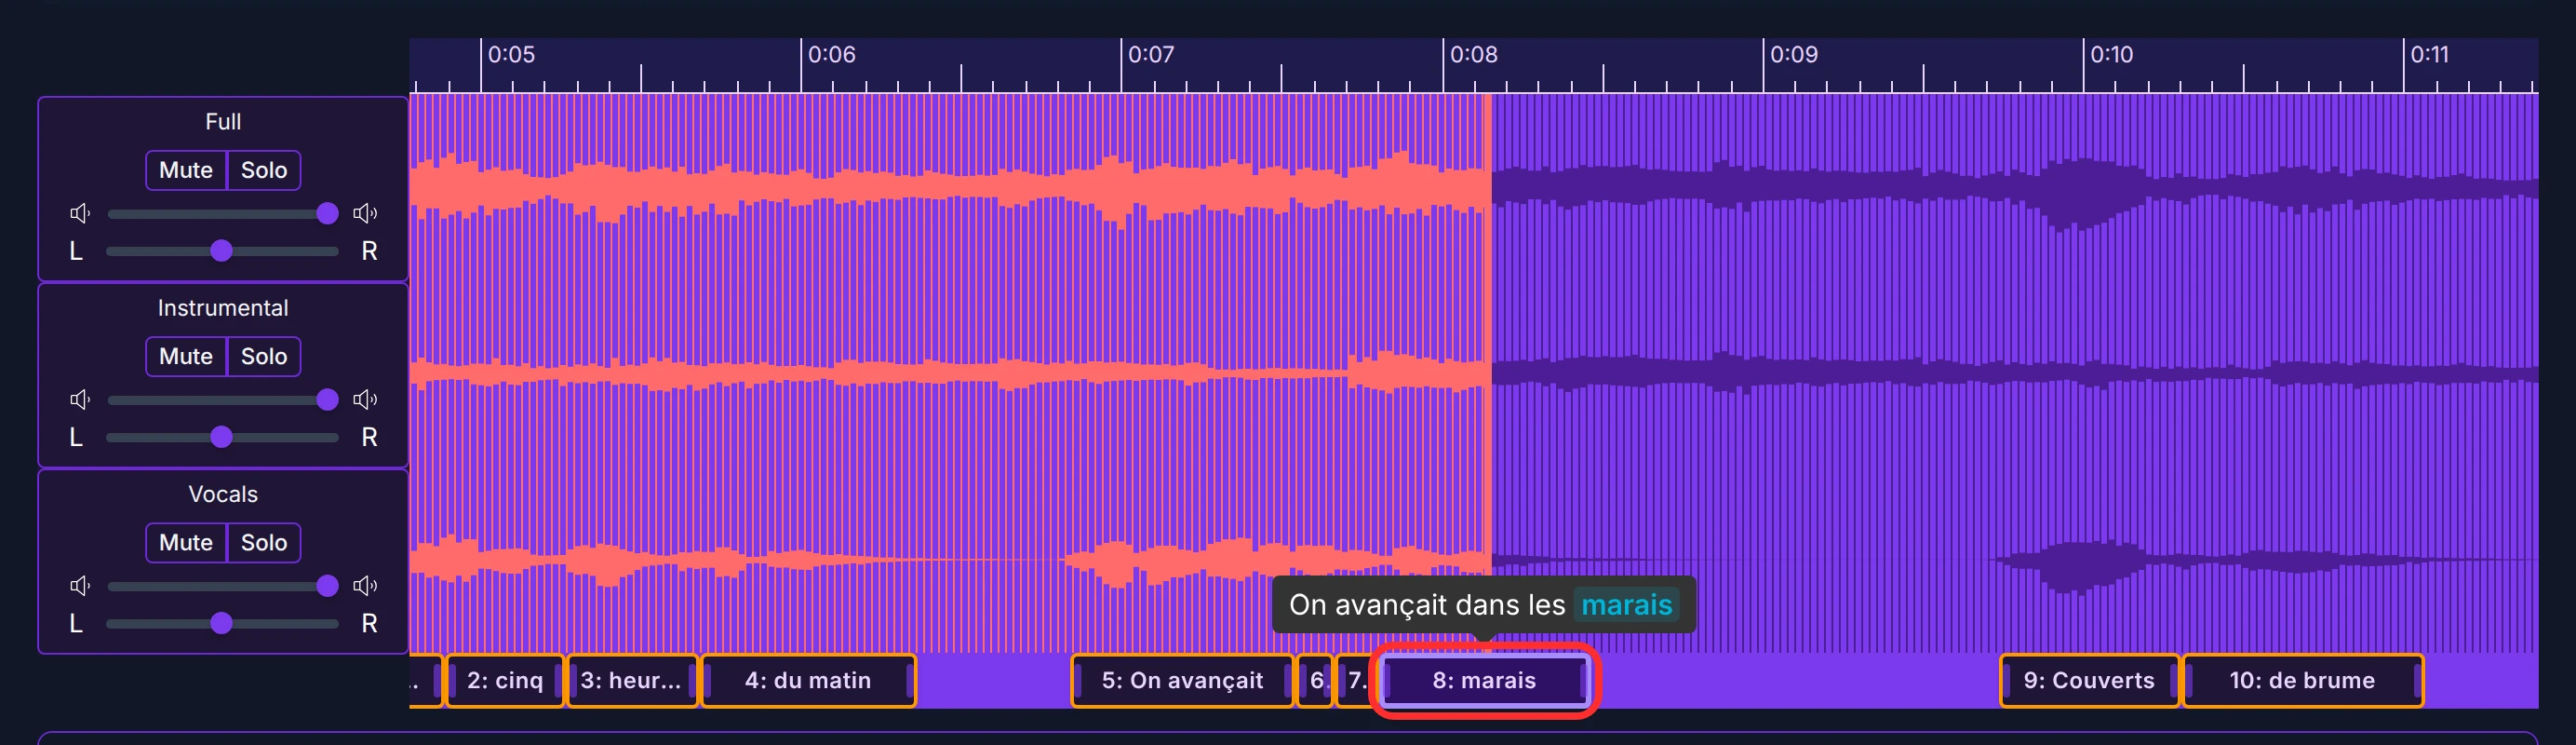
Three waveforms are stacked, always in this order from top to bottom:
- Full — the original soundtrack of your video, as extracted.
- Instrumental — the instrumental track separated from it.
- Vocals — the isolated voice.
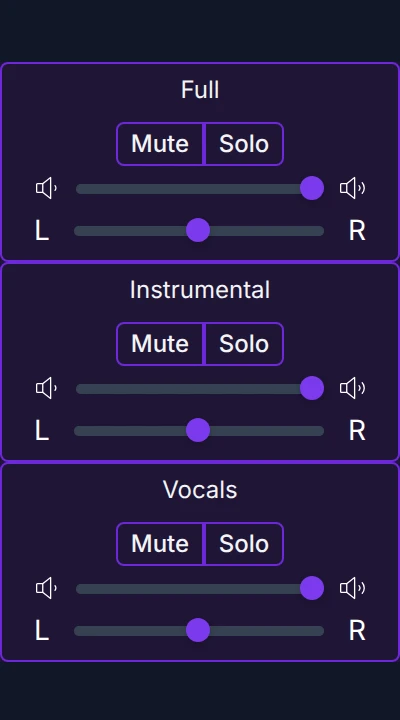
The panel on the left controls each track — and this is more than monitoring: the mix you hear here is the mix recorded in your final video.
- Solo — hear (and keep) only this track. Only one Solo can be active: if several are checked, they are ignored.
- Mute — silence a track. To keep two tracks, mute the third. For example, to keep only the instrumental: either Solo on Instrumental, or Mute on Full and Vocals.
- Volume — balance the level of each track to taste; the blend you set is the blend your video gets.
- Left–right balance — the one exception: it affects only what you hear while working, and is not recorded in the video. The final video is always centered, whatever these sliders show.
This is how you choose your karaoke's sound: voice removed, voice lowered, original untouched — it's all just Solo, Mute, and volumes.
The annotations on the waveform
Under the tracks, each word sits as a labeled annotation: its ID and word (like 8: marais), and two handles — one on each side — to adjust its start and end.
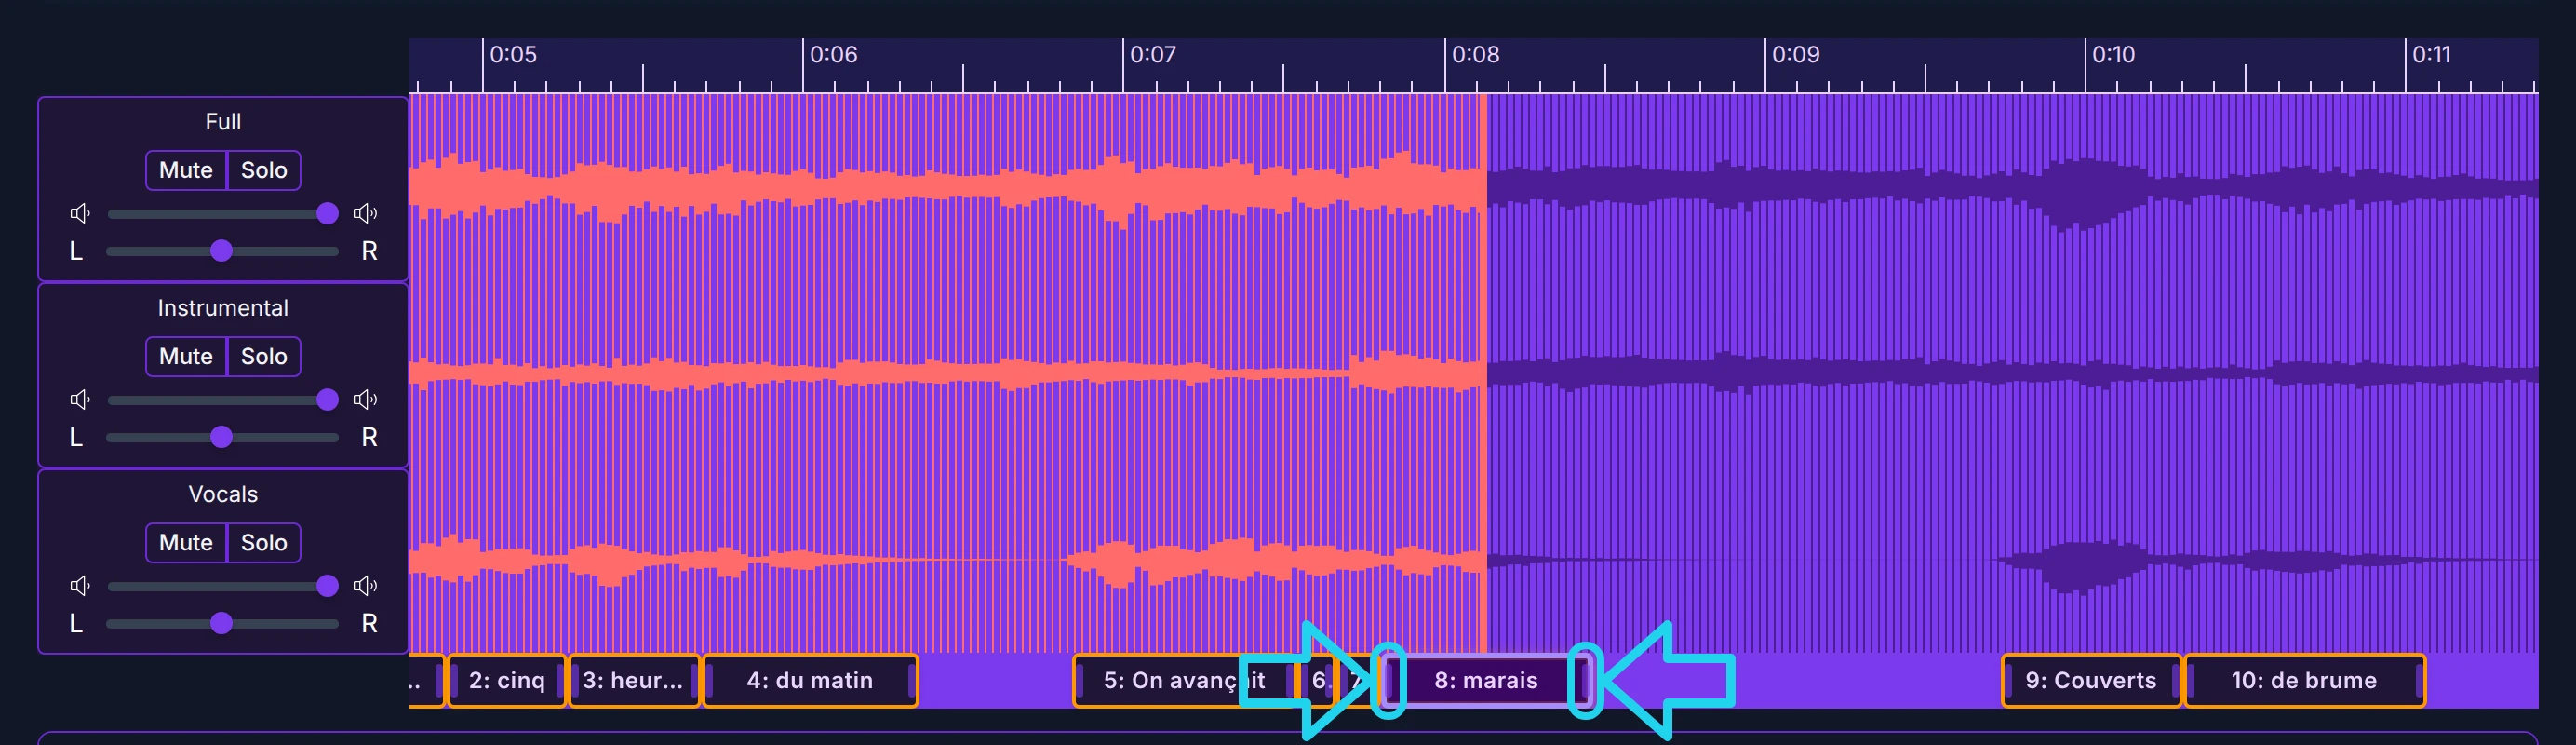
A few things that make this pleasant to use:
- Hover over any annotation (playing or paused) and its full subtitle line appears in a tooltip, with the hovered word highlighted — a quick way to see which words belong together on a line:
- Click an annotation's ID label and the ID is copied to your clipboard — you'll use that with the group-editing tools.
- The annotation currently under the playhead is highlighted in orange, both here and in the annotation editor below.
Stretching an annotation: the Alt key
Drag a handle to stretch or shrink an annotation. What happens when you push into a neighbor depends on one key — Alt (Option on Mac):
- Without Alt (default) — local squeeze. The neighbor you push into shrinks to make room, down to its minimum size; only then is it pushed, which in turn squeezes the next one, and so on. Free gaps are absorbed along the way. This is the everyday mode: nibble a little room from a neighbor without disturbing the rest.
- With Alt — the "train" mode. Neighbors don't shrink: each keeps exactly its duration and simply slides along, like train cars pushed one against the next. Only the gaps between annotations are consumed. Ideal when the durations are already right and you just want to push a run of words along.
The mode is decided at the moment you grab the handle: hold Alt as you start dragging and the whole drag is in train mode (you can release the key mid-drag); pressing Alt after starting changes nothing.
In both modes, the same guarantees apply: nothing can leave the track, no annotation can shrink below its minimum size or disappear, and no overlap is ever possible. Experiment freely — there is no destructive wrong move.
The annotation editor
Below the waveform, every annotation has its own row: its ID and word, its start and end times, and its text.
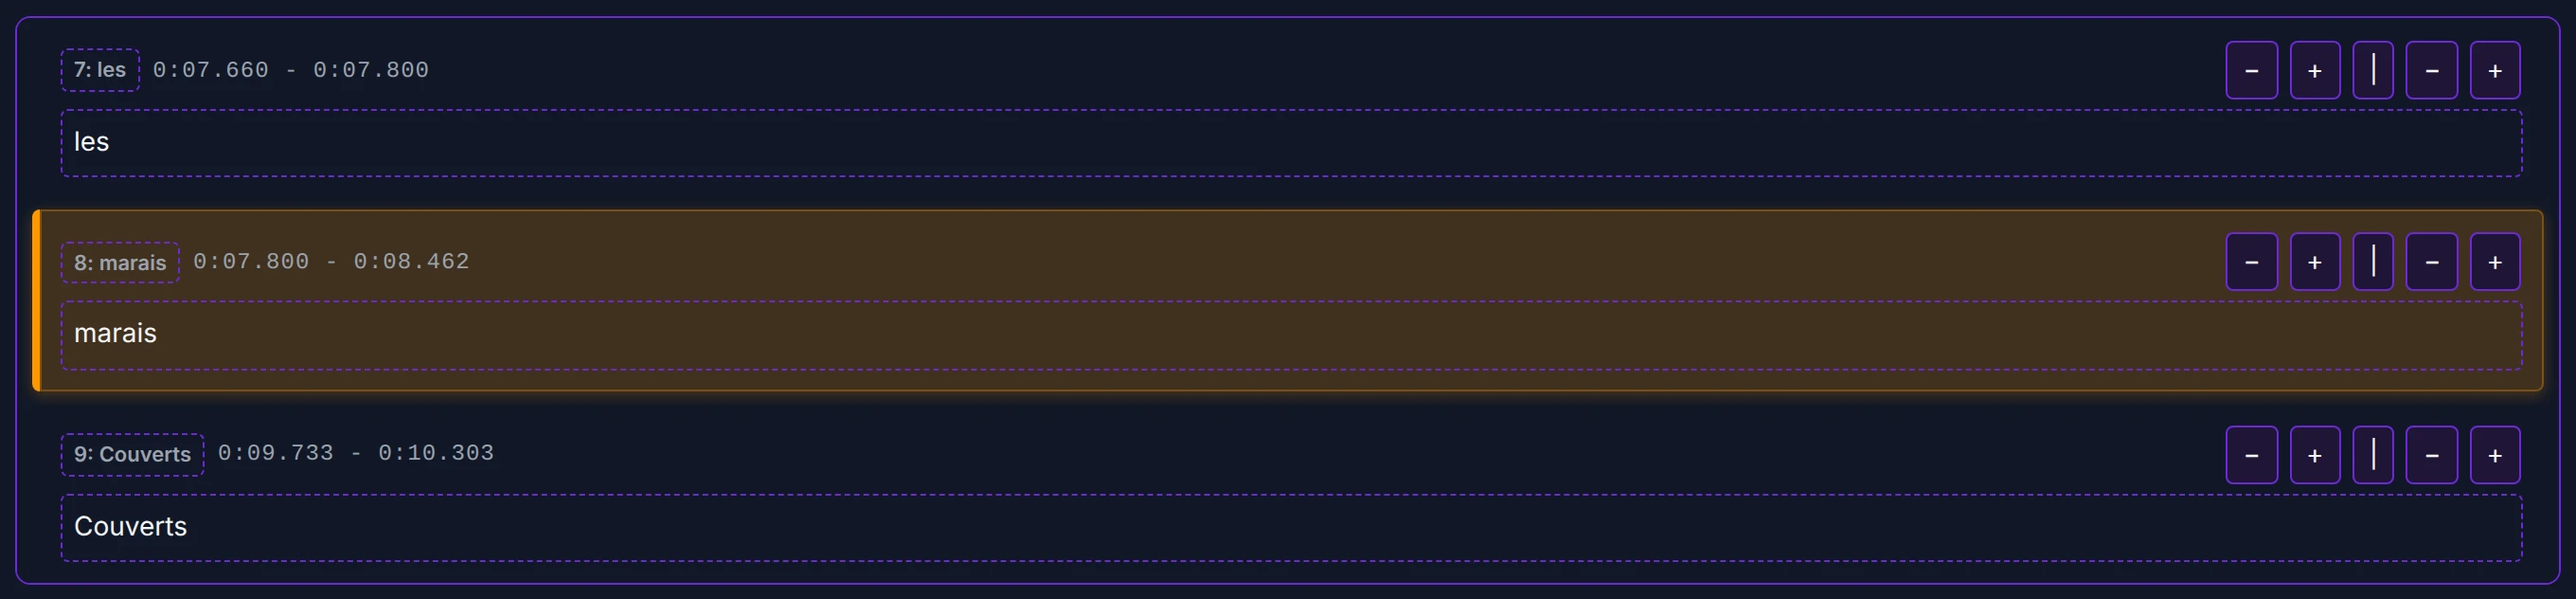
- The row highlighted in orange is the annotation currently under the playhead.
- The small − and + buttons at the right of each row adjust the timing with clock-maker precision: the first pair nudges the start, the second pair nudges the end, and each press moves it by one hundredth of a second (0.01 s — a hundred presses make one second). The vertical bars between them are just separators. Handles for the broad strokes, these buttons for the last millimeter.
- The text of each annotation can be edited right in its row — useful to fix a typo or make a light correction.
The text you validated earlier — your lyrics file, or your corrected transcript — is what the alignment was computed on, and it remains the reference for your project. Fixing a spelling mistake here is fine; rewriting words or lines is not what this editor is for, and substantial text changes can't be covered by support, since an automatic comparison against your original validated text is what a claim is checked against. If the words themselves need real changes, the right place is earlier in the journey: a corrected lyrics file or transcript.
What's next
With every word sitting exactly where it should, two paths continue from here:
- Fix whole passages at once (a verse shifted in time, an over-stretched burst of words, tiny gaps to close): Editing groups of annotations.
- Style the result — colors, fonts, effects, translation: the subtitle settings pages (coming next in this section).